Best Practice Guide to Dewatering Excavations
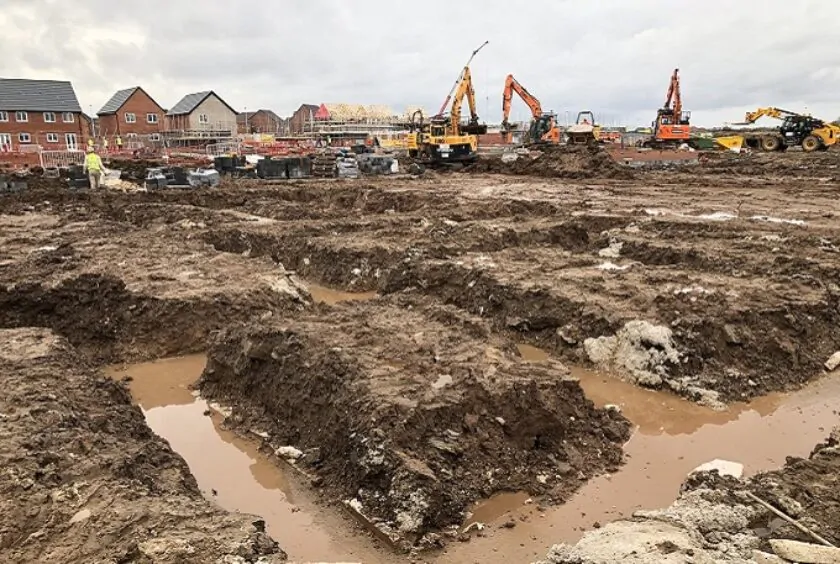
This Best Practice Guide to Dewatering Excavations will help you avoid fines, keep delays to a minimum and may help you save money. It is essential reading for anyone who manages or audits construction sites or roadside maintenance teams.
Long gone are the days when you could simply pump water out of a hole and discharge it into the environment. Legislation ensures that operators not abiding by pollution prevention guidance are at risk of prosecution and hefty fines.
However, the expense and disruption associated with some dewatering remedies can lead to malpractice and contamination of surface water.
Fortunately, if you are well-prepared you can dewater most small to medium-sized excavations in a way that is fast, affordable and compliant with environmental regulations.
We’ve broken the process down into 3 steps:
- Step 1: Do You Need a Discharge Permit?
- Step 2: How to Test for Hydrocarbon Contamination
- Step 3: Dewatering the Excavation
Step 1: Do You Need a Discharge Permit to Dewater Excavations?
There are two main issues here: how clean is the water and where are you going to discharge it?
You have a legal requirement to obtain a permit when discharging water to surface water.
However, make yourself familiar with the Temporary Dewatering from Excavations to Surface Water regulatory positioning statement (Updated 6 Jan 2023) or the equivalent in your jurisdiction. If you are discharging clean, uncontaminated water to surface water for less than three months, the Environment Agency states that it is unlikely to take action if you do not have a permit but meet the conditions of this guidance.
Most standing water on a construction site, however, is likely to be sediment (silt) laden and this is considered to be contaminated water.
If you filter out the sediment first, to regulator-approved standards, you will be able to discharge to surface water. However, you might still need a permit. If your dewatering activities are going to continue for more than three consecutive months, you must apply for a permit.
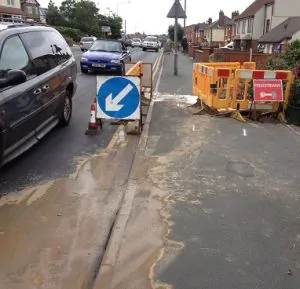
A common site is the muddy water that roadside contractors allow to overflow onto pavements and roads. This is a pedestrian and traffic hazard not to mention unsightly for residents.
If the water is contaminated with hydrocarbons, you should try to discharge it to the public foul sewer if near enough or, failing that, a private one. You do not need an environmental permit to discharge to the public sewer but you will need a permit from the public sewerage undertaker. This will incur a fee and there will be a process of approval. However, if you are performing emergency works, approval will usually be granted quickly.
If this is not an option, you will need to remove the waste water using vacuum tankers or clean it yourself before dewatering.
You can discharge to land without an environmental permit; if you cause pollution to the land, your dispute will be with the landowner.
There are other factors, including your proximity to protected areas, which will determine whether or not you can discharge or need a permit. In all cases, contact your local environment agency for advice. It is against the law to be operating without a permit when you need one. Customer feedback suggests that advice can also vary depending on who you talk to so don’t assume the advice you received in one area of the country will be the same in another area. (How to apply for a discharge licence in England, Wales, Scotland & Northern Ireland.)
One important aspect to consider is the time it takes to obtain a permit. A straw poll of customers suggests that, at the time of writing, permits can take at least two months to obtain so plan well in advance. If you wait until you need to dewater, you will probably have to call in the tankers.
Step 2: How to Test for Hydrocarbon Contamination
As well as silt, standing water can also be contaminated with chemicals. For example, water in excavations can easily become polluted with oil from machinery or run-off from refuelling or concrete washout areas. Or you may have been working on oil-filled cables inside an excavation. If you suspect that the water may be contaminated, you should have it tested by a third party.
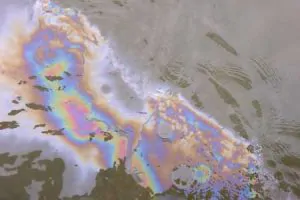
A rainbow sheen or slick on the surface of the water can indicate that the water is polluted with hydrocarbons. You can quickly and easily test this for yourself using a Hydrocarbon Detection Strip.
These strips indicate the presence of hydrocarbons by changing colour from light blue to dark blue. Simply wave them around in the water for a few seconds and depending on the concentration of contaminants, the colour change will range from light speckling to instant transformation – so check carefully.
These strips are a low-cost and effective method of detecting contamination and far more convenient than sending samples away for third-party testing.

Note that there is a type of harmless bacteria that can form a multi-coloured sheen on the surface of standing water, similar to that caused by oil. The easiest way to check is to drag a stick through the material. Oil will usually remain as a constant layer on the surface of the water. If the sheen is caused by bacterial growth, it will break up into smaller pieces.
If you have detected hydrocarbons, you’ll need to clean the water or get a third party waste contractor to remove it. If you decide you can clean the water, do this before dewatering.
Absorbent pillows are a fast and inexpensive way to soak up oil and fuel. Check out Green Rhino’s Oil Retention Pillows – these are more effective than traditional absorbent pillows and generate less waste.
Step 3: Dewatering the Excavation
When it comes to dewatering you have three main options: sediment filters, settlement tanks and vacuum tankers. Which you choose will be determined by a number of factors:
- Urgency
- Volume of water
- Flow rate
- Geology
- Contamination
- Space
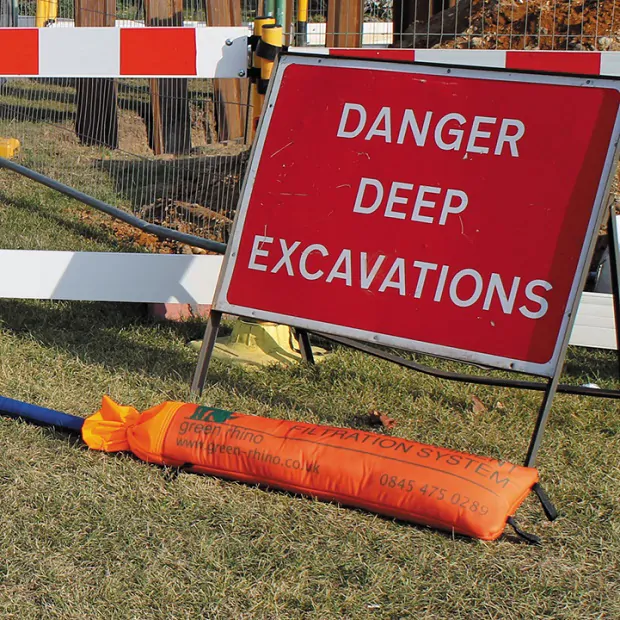
For small to medium-sized excavations, sediment filters (silt bags or silt socks) are ideal. These low-cost filters are normally used with a 2″ pump and are a highly effective way to filter out sediment before discharging to land or surface water. Good quality filters can be emptied out and reused time and time again.
Sediment filters are available in different sizes and with different filtration capabilities. For example, when filtering finer sediments like clay, or in a protected environment, you may need an ultra-fine sediment filter. If light hydrocarbon contamination is a risk, you may opt for an oil & sediment filter.
When pumping, be sure not to disturb the bottom of the excavation as this will suck thicker mud and any settled hydrocarbons into your filter. If hydrocarbon pollution is severe – with thick polluted mud at the bottom of the excavation – you may still require a vacuum tanker but a sediment filter will enable you to process the majority of the water before the tanker is needed.
Don’t operate machinery in the excavation before dewatering is complete as you risk leaking oil or washing other pollutants off the equipment and into the water. Make sure too that your sediment filter is placed well away from the excavation so that discharged water cannot run back in. If discharging to surface water, place the filter close to a surface drain or natural gully. Allowing the discharge to run over grass first can remove some of the smaller sediment particles.
An important condition of discharging into the water system is that the banks and bed of receiving channels should not be damaged. We’ve seen the East West Rail Alliance place their dewatering filter bags on a makeshift bed of gravel to slow the discharge down and reduce scour in the channel.
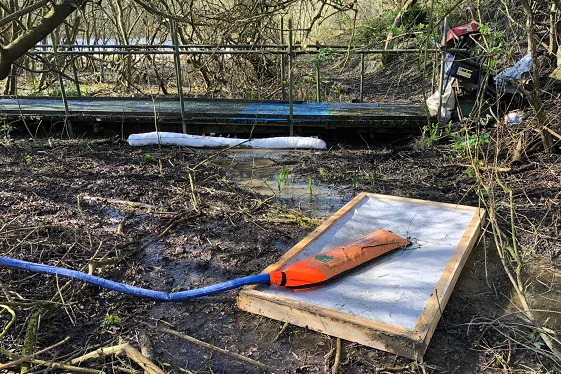
In some circumstances, however, a sediment filter will be insufficient. You may need to move the water quicker than a 2″ pump can manage or the level of contamination may call for a more substantial approach.
A settlement tank can deliver high throughput and enhanced filtration capacity. Units can be expensive to hire, however, and can take up space. You may also need to provide a secure area in which to locate them.

If you simply need a higher flow rate, you could consider a Green Rhino Manifold which enables you to harness up to eight sediment filters. It can give you the throughput and filtration capacity of a settlement tank but at a far reduced cost.
If you have a limited volume of highly contaminated water, a vacuum tanker may be your only recourse.
How to Ensure Compliant Behaviour
Most responsible constructors and contractors understand their environmental obligations when dewatering excavations. However, insufficient planning or unexpected events can risk delays and unwanted expense. In these cases, shortcuts may be taken with the risk of a pollution incident.
To ensure you are prepared, take the following steps ideally before you break ground:
- Check the latest environmental guidance (the Temporary Dewatering from Excavations to Surface Water RPS was due to be reviewed by 30th April 2024)
- If unsure, seek advice from the regulator
- Apply for any discharge permit(s) months before they are required
- Check price and lead times for settlement tanks and vacuum tankers
- If you decide to use sediment filters, manifolds, oil detection strips and oil retention pillows make sure you have them in stores before they are required (plus spares!)
To help explain the best practices described above to site workers, invite Green Rhino to deliver a free onsite demonstration. Use the orange button at the bottom of the page or call us on 01206 299388.
